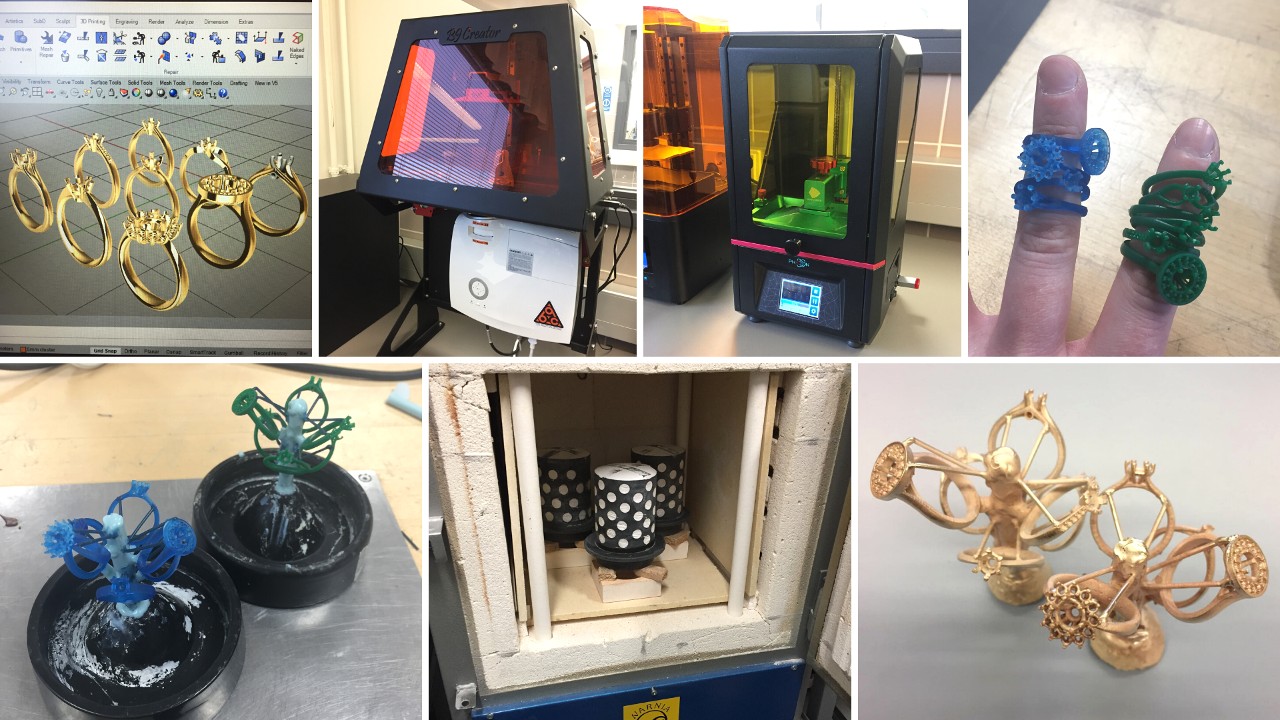
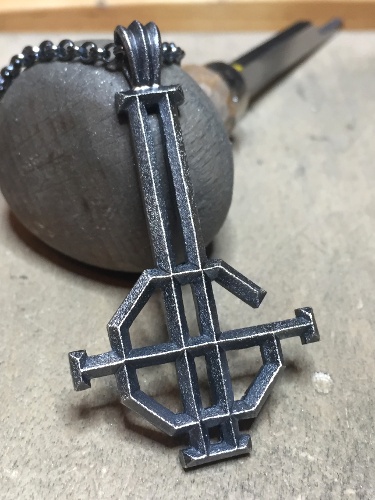
The four 3D printers we had at school:
B9Creator v1.2 (~4500 €)
Uses a DLP projector (1080p) to cure UV resin layer by layer. Great performance, perfect for small 3D prints with fine details.
Can deliver resolution up to 25-30 microns. Printing on the highest resolution mode cuts down the build volume from 104 x 75.6 mm to 57.6 x 32.4 mm. Slicing software: B9Creator.
Zortrax Inkspire (~1800 €)
Uses a high-resolution LCD display with UV LED backlighting to cure liquid photopolymer resin layer by layer.
Build volume 74 x 132 x 175 mm. Able to print parts as small as 50 x 50 x 25 microns. Slicing software: Z-Suite.
Wanhao Duplicator D7 Plus (~500 €)
Features a high-resolution LCD screen. Uses the vat photopolymerisation 3D printing technology to cure liquid resin.
Build volume 120 x 68 x 200 mm. Layer resolution capability of 35 microns. Slicing software: Creation Workshop.
Anycubic Photon (~300 €)
Uses LCD shadow masking technology (sometimes listed as DLP) to cure resins with a UV-LED light source.
Build volume 115 mm x 65 mm x 155 mm. Layer resolution 25 ~ 100 microns. Slicing software: Photon Slicer.
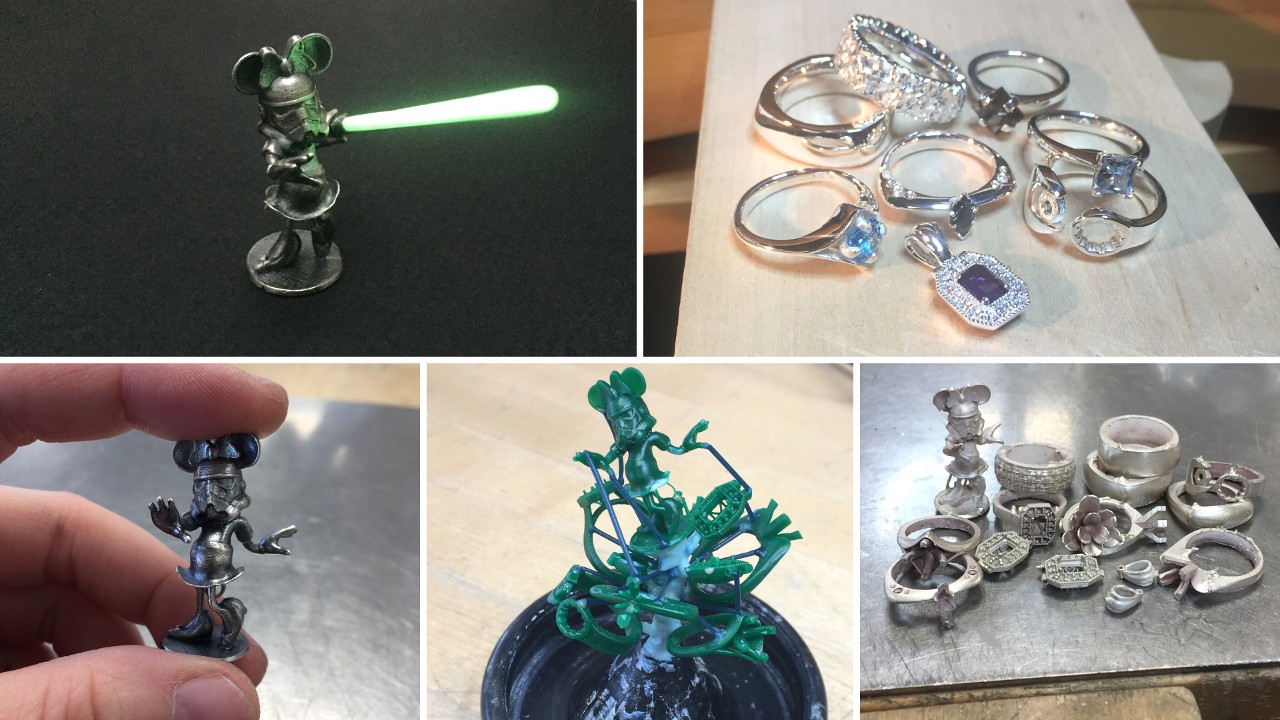
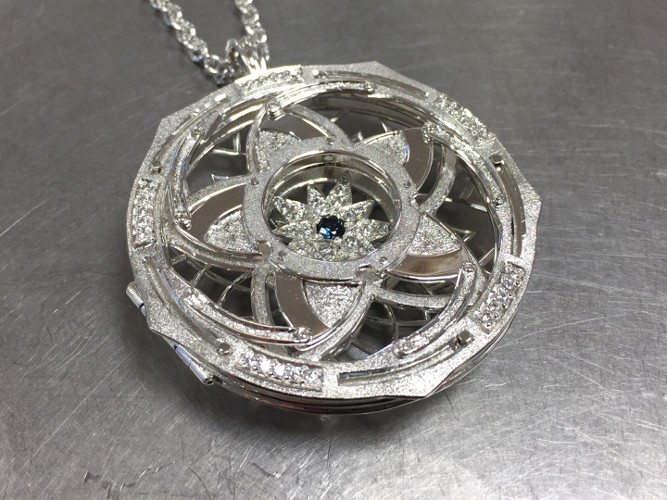
We had a few problems setting up the LCD printers. All three had the same problems – sometimes they didn’t print anything at all, or they’d print halfway and then just stop. When they did actually finish a print, they results were pretty good, it’s just that it happened maybe once out of three prints. I only used the Anycubic and my first prints with it failed, only a few rings were successfully printed. The second time yielded nothing, the building plate was completely empty. After that I used the old reliable B9Creator for the third run. Others also had mixed results with the LCD printers. One thing that bothered us was that you couldn’t see anything during printing because the tanks are so high, so you have to wait for like 3 hours to see if there’s even anything on the build plate. Not all the printers could be paused to lift the plate. There’s also a primer you can use on the build plate so the print will stick to it tighter. It did help though, at least the first layers were really stuck to the plate even though none of the actual prints were nowhere to be seen.
The B9Creator is basically ready to go at all times, you just need to mix the resin in the tank a bit before printing and you’re all set. No need to empty and clean the tank every time, which is what you absolutely must to do with the Anycubic (and the other LCD printers). The resin (Bluecast x10) used on the Anycubic seems to be highly susceptible to light. If you leave the resin sit for a long time after printing, we noticed it starts to set and form a kind of coating on top of it. It should to be cleaned straight after printing to avoid any issues with the resin. Even more carefully after a failed print because it leaves random bits and pieces into the resin that you need to clean out. After multiple failed prints the resin gets worse no matter how well you pour it through a strainer and you end up throwing the whole bottle away because it’s now ruined. We made the mistake of pouring the used resin back into the same bottle and after throwing one bottle in the bin we decided to pour the used resin in another bottle so it wouldn’t contaminate the original bottle. Those bottles aren’t exactly cheap. We used Bluecast resins and the original worked best, then the x5 and lastly the x10.
The tanks on the LCD printers should be cleaned carefully by hand (not even a sponge, just with fingers) until they’re squeaky clean. Even nails can leave a mark on the film and it affects the print quality since the UV light refracts on all those imperfections in the film. After washing it properly, just dab it dry with soft paper because even swiping it with paper might scratch it. Lastly use a soft window cloth with a bit of IPA to clean the film. The thin film wears out and the more scratches and dimmer it gets, the worse are the results.
All in all, the LCD printers are excellent printers when they do work as intended, you just have put a lot of time into configuring all the settings perfectly or you’ll get nothing out of it. Despite all the problems I had with the Anycubic, I’m honestly positively surprised with the quality of the prints. It’s quite an affordable printer even for a beginner. Also the post cure process after printing is only ~30 sec (in two IPA baths) for the castable resin used on the Anycubic and other LCD printers compared to the ~2,5 h (in a UV oven) for the resin used on the B9.

Leave A Comment